"I'm the breadmaker, you're the breadwinner" 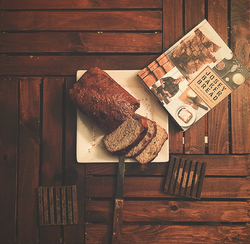 For our first blog post we decided to talk about one of our favorite new hobbies, baking (and eating) bread! Eating bread has always been a hobby of mine. Actually, it has been more of a lifestyle. Ask anyone in my immediate family what my favorite food is, it’s bread. The one thing I would push back against in the Bible is when Jesus says that man cannot live on bread alone. Obviously, that doesn’t apply to me, because bread is every layer of my food pyramid. But you get the point. 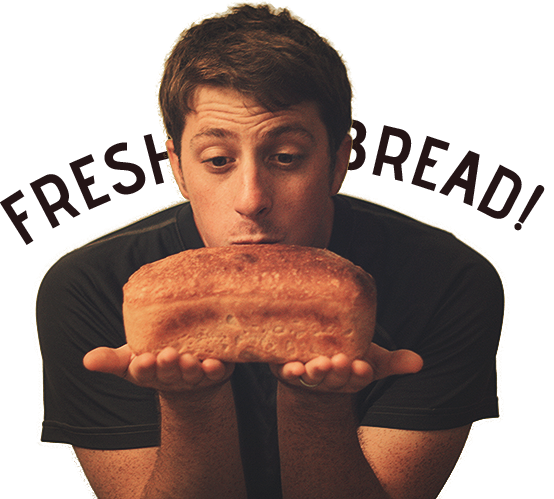 Earlier in the summer, Lynn and I took a road trip to Portland, OR. Among the many things we did there, was (eat bread? you must be thinking) hanging out in Powell’s city of books. In the clearance section of this temple of literature we saw this, Josey Baker Bread. Josey Baker Bread co operates a small store in San Francisco with Four Barrel coffee called The Mill, which I highly recommend if you get the chance. Lynn and I decided to take my bread fascination to the next level! We purchased the book and within days of returning from Portland the first loaf was baked. I was hooked instantly. Lynn started snapping photos and before you know it, the loaf was gone. 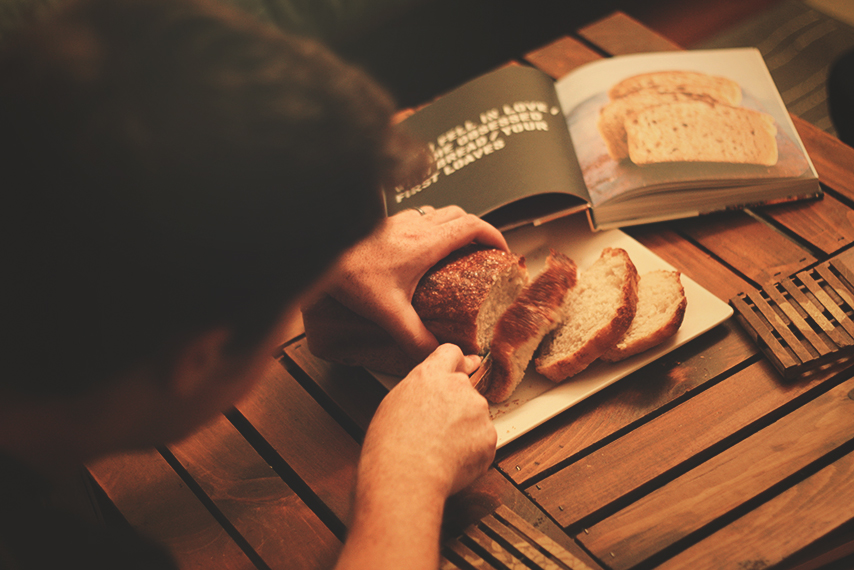 From then, the floodgates were open. My bread hunger and curiosity would not be satiated with one mere loaf! Nay, we would need more, much more! The second loaf came and went, better than the first and I decided it was time to kick it up a notch. Today I bring you my first attempt at a two part mix loaf! What makes this loaf of bread different from others? You might ask. Excellent question! For this particular loaf, I will be constructing it from two different types of flour made at separate times. The first portion of the mix is called the Pre-Ferment. This mixture contains whole wheat flour, water, and yeast. The normal flour used for bread is, wait for it, bread flour. Complex, I know. In case you were wondering, the main difference between all purpose flour and bread flour, is protein. Bread flour has it, all purpose doesn’t. Whole wheat flour is used to make this Pre-Ferment because it will enhance the flavor of the bread, allow it to last longer, and shorten the amount of time I have to let the dough rise, it’s magic. The consistency I was going for here was like a thick pancake batter and I think I nailed it.
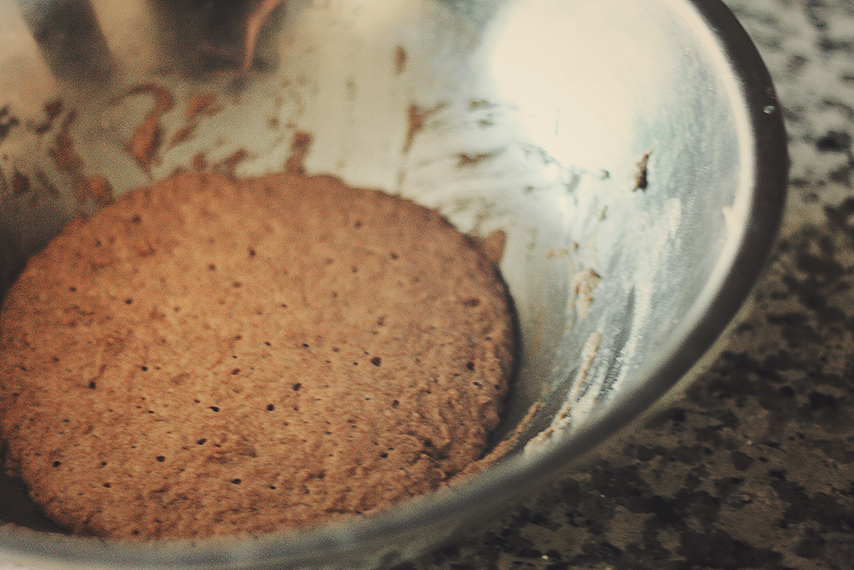
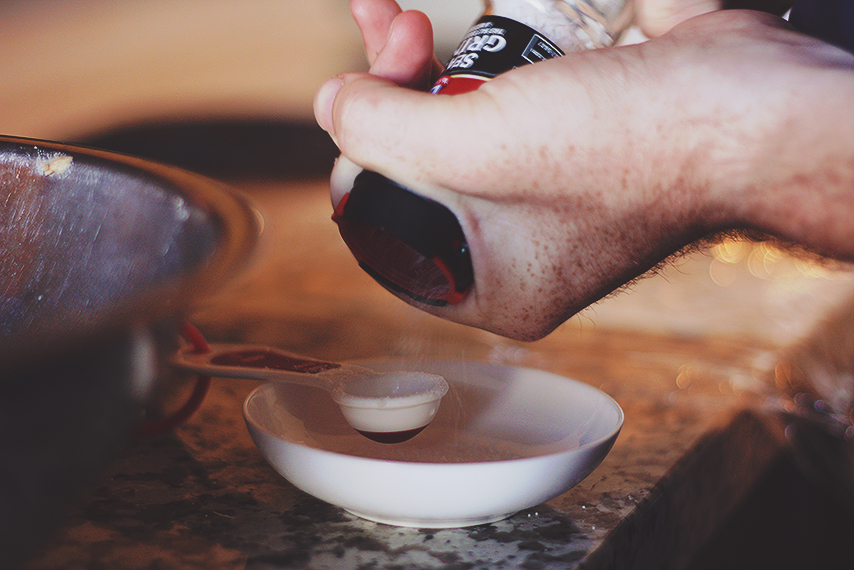 After letting that sit on the counter overnight, the yeast sets in and works its magic. The dough flattens and small holes appear in the top of the dough. At this point the dough will be giving off a strong aroma that smells slightly alcoholic and slightly wheaty. Pure Heaven. Now take that Pre-Ferment, mix it with bread flour, sea salt, and water until you get a nice wet consistency. leave the new mix in the bowl, outside the fridge for about 4 hours to let it rise, then throw it in the cooler for up till a week when you want to bake it! If you are anxious to get to the eating part of this process (and lets face it, who isn’t?) leave it in the fridge for 3 hours minimum. The longer it is in the fridge, the more time the yeast and other ingredients have time to mingle and do lots of cool chemical things that make the bread tastier. After 3 hours, take the bread out of the fridge, sprinkle some flour on the counter, on the bread, on your hands, have fun with it. Gently push the bread out of the bowl and onto the counter. More flour, just so it doesn’t stick too much. Flatten the dough into a circle, fold the left side into the center, then the right, roll up the dough and plop it into the oiled loaf pan with the smooth side facing up. Spray a little oil on the top of the dough so it doesn't stick to the foil and cover the pan with foil, leaving a few inches above the pan for the dough to rise. 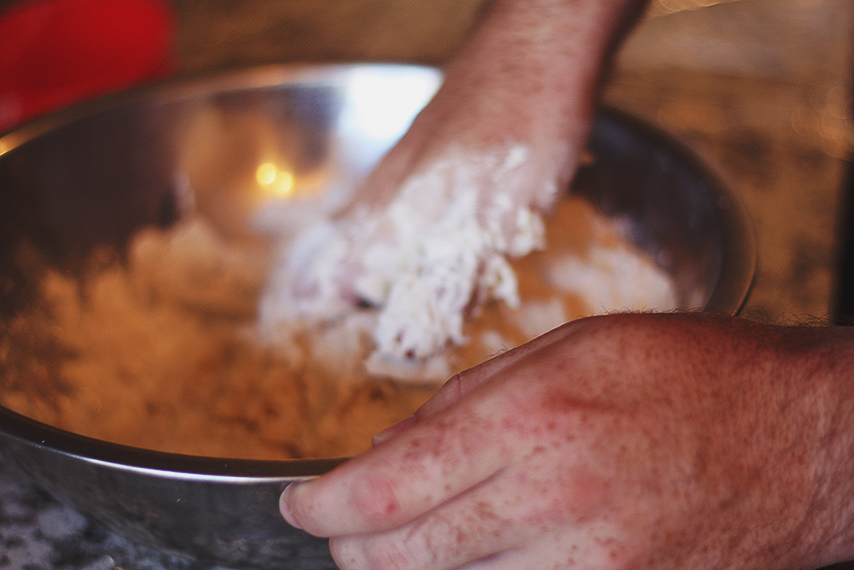 Now, divorce yourself from your bread. I know, you were just getting to know each other, but it’s time for some personal space. Set the bread in a place where it won’t be bothered for 4 hours. Set a timer for three hours and forty minutes. Once that rings, go and preheat your oven to 475 degrees fahrenheit. Once that has preheated for at least twenty minutes. Throw the bread into the middle rack. Let it bake for twenty minutes, take off the foil, then bake it for another 20 minutes and you are home. Ok, I lied, there is one more step. Actually the most difficult step. This step requires the most patience and control of all. Take the bread out of the oven and let it cool for 30 minutes. I know, I can hear your cries now. “But Keith,” I hear you saying, “I have been working on making this bread for two days! I am eating it now and you can’t stop me!” This is a bad idea for a few reasons. One, heat masks flavor. Super heated bread will taste hot. That’s it. You could buy sliced bread from the store, super heat it, take a bite, and it will taste exactly the same as the bread fresh out of the oven. Secondly, you will burn your tongue, which, in the world of bread tasting, is a season ending injury. Don’t cut your season short. Let it cool off. Wait thirty minutes and the prize is yours, fresh bread! Hope you enjoyed this post (and the bread!) and until next time, Happy Baking! 
0 Comments
Leave a Reply. |
Categories
All
Archives |

 RSS Feed
