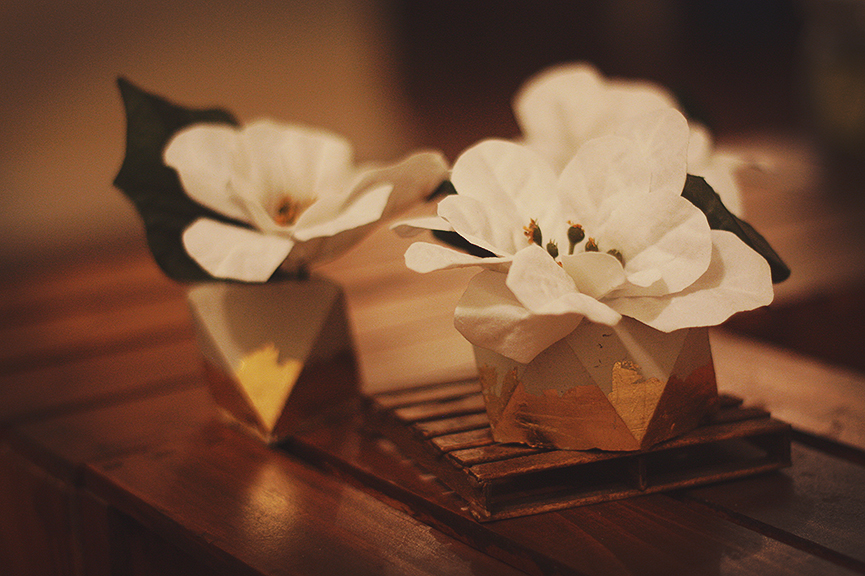
 We found these concrete planters on sale at Renegade Craft Fair in San Francisco, and immediately had to take a few home! At $5 a piece, they were a steal! Having always wanted to work with gold foil, this was the perfect opportunity!
0 Comments
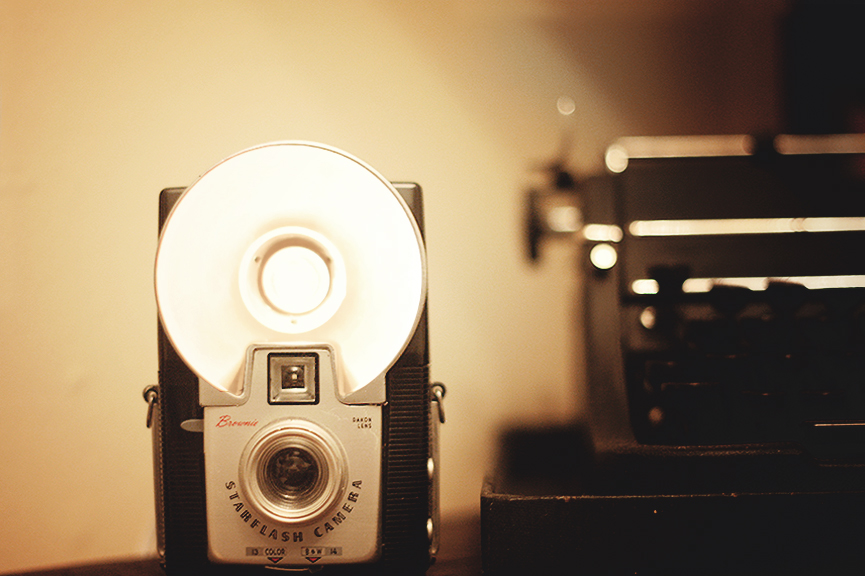 If you know our story, follow this blog, or read the menu the left of this post you can see that we love photography. Lynn and I met in a digital photography class after all! The style of vintage cameras is something that continuously captures our imaginations. Lynn, being a photographer and designer, and myself being a history nerd, we love antique stuff!
At a craft fair not too long ago, we came across a craftsman who was selling lamps. But not just any lamps! These lamps were adorned with cute metal figurines of animals, planes, and other inventions. The part that absolutely won us over though? The lamps turned on when you touched the metal objects! We were enthralled. Alas the price was too far out of our budget, and we continued on our way. Lynn has been thinking of a way to create this lamp ourselves for the past few months, and this camera lamp is the result! 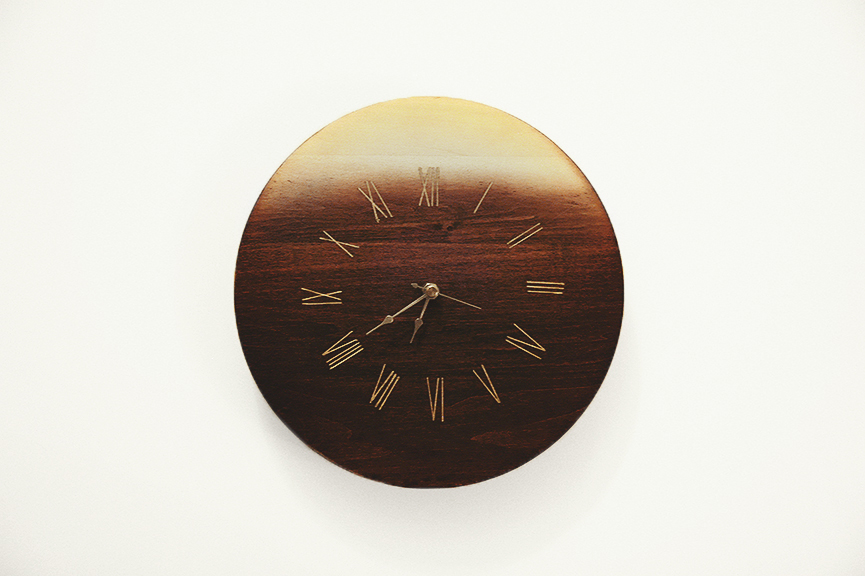 When the clock you want is way over your budget, the obvious crafter's solution is to make your own! We fell in love with Rejuvenation's Gray Soso Wood Clock and Tower Roman Clock, and so decided to use them as inspiration to make our own!
 I bought my first succulent in one of these geometric diamonds - can you guess which one it was from the picture below? One is unlike the others...but oftentimes people can't tell the difference. The 3rd one from the left is made out of metal pipes but the rest are made out of...
Coffee straws! Who would've guessed right? Such a simple and cheap material turned into something that looks far more expensive! A little gold spray can do wonders. 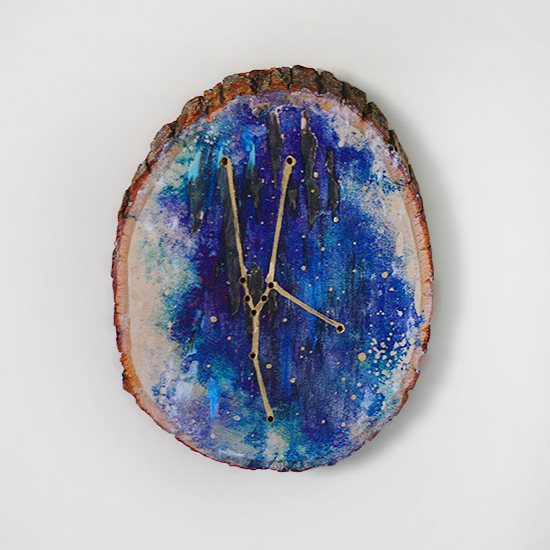 A revelation was made the other day: Mr. Snuggles was my astrological sign - Taurus the bull. Even more coincidental was another discovery - the constellation Taurus was shaped like a K. It was meant to be.
Materials: 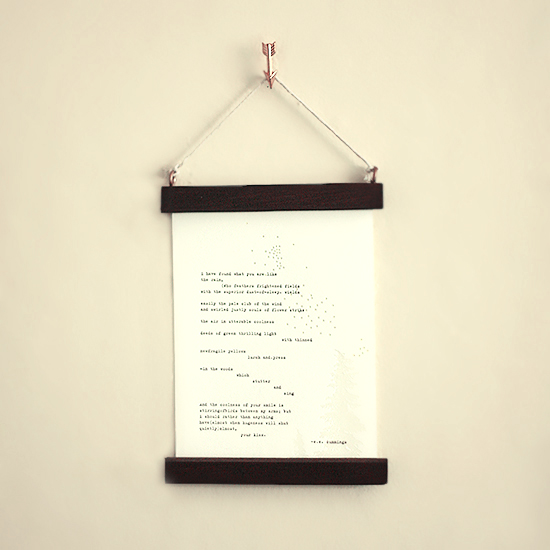 We got tired of those traditional old frames pretty quick, so decided to try a new method of frame our new prints from HandLetteringCo. With some inexpensive wood pieces from Michaels, some string, and some cute push pins from Target, we were pretty pleased with the results!
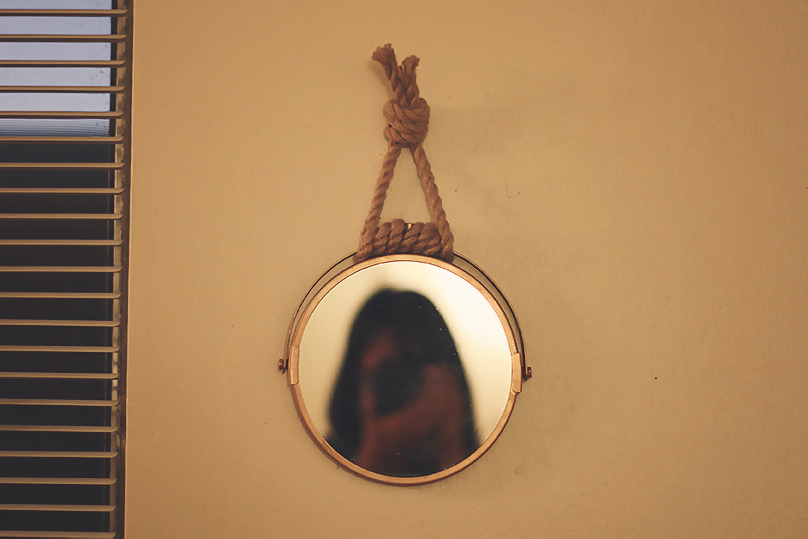 We don't believe in waste. We try to reuse what we can, turning the leftovers of one project into a new project. This IKEA Frack mirror was sitting in my drawers for a while after we had made the Edison Retractable Light. The moment I realized the mirror could be taken apart and sprayed gold...a new project was born.
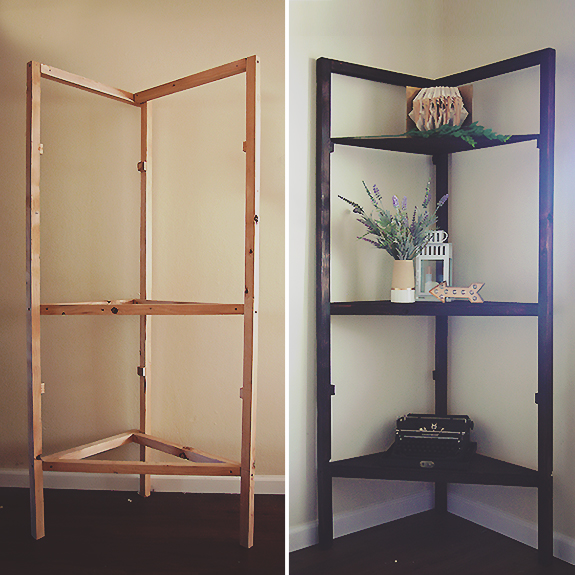 Walking down the streets of San Jose, I stumbled upon this half finished woodshop project. As the students began to move out for the summer, they discarded many things, leaving bed frames and couches out on the sidewalk. When I saw this wood frame, I immediately called Keith and asked him to pick it up for me. He was skeptical of its potential, but I insisted. Especially when wood was so expensive to come by, I couldn't resist taking it home. And so began our new project! With the frame already made, we made a few adjustments to create smoother transitions. Some of the vertical wooden pieces were awkwardly placed on the corners, so we used a handsaw ($1.50 from Daiso!) to trim the corners. We also removed the top bar. The original makers of this project had made one triangular shelf, so we took it to Home Depot and asked to have a piece of wood cut to a square of that size. Since we have yet to invest in a good saw, we were able to take it to Ace Hardware to have the square piece cut in half. Much thanks to Ace, who cut it for us for no charge!
Then we stained the entire frame, making sure to cover all the corners and undersides (we were too lazy to do the backside, however, so don't ever peek behind!) Once everything was dry, we used wood glue to secure the three shelf pieces onto the frame. The last (and most fun) part was decorating! I bought a $1.50 vase from Michaels and spray painted a small gold strip between the white and cream colorblock, immediately upscaling it from a cheap vase to an elegant Anthropology piece. The other pieces came with their own story, a book folded page by page, a typewriter restored from history, and a lantern glowing in the warm late nights. 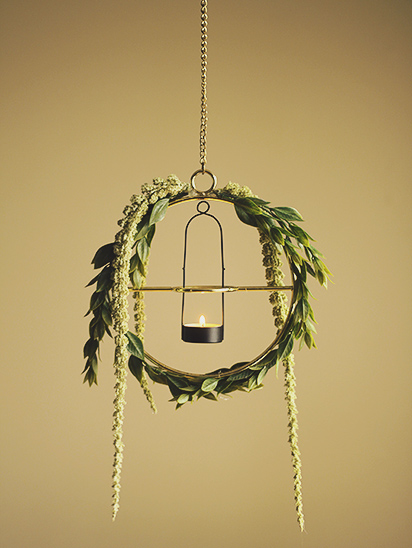 The Treasure Island Flea in SF is often a hit-or-miss - it can have all kinds of random objects and paraphernalia. But true to its name, it can also have hidden treasures. We have visited this flea market over 3 times now, and though many vendors are the same, the true flea market vendors always vary in their goods. We found this gold candle holder hidden between antique cookingware and murky bottles. After buying the gold candle holder for $1, we took it home and contemplated what to do with it. We perused Michael's (our go-to crafts store, due to its perpetual coupons) for ideas, and stumbled upon some faux leaves and floral pieces we liked. We took some home and hot glue gunned them to the hoop, using fishing wire to secure the bottom pieces to the hoop. We then hung a black candle holder from a different candle holder we already had, stringing fishing wire to hold it in place. A candle holder perfect for a greenery-inspired living room!
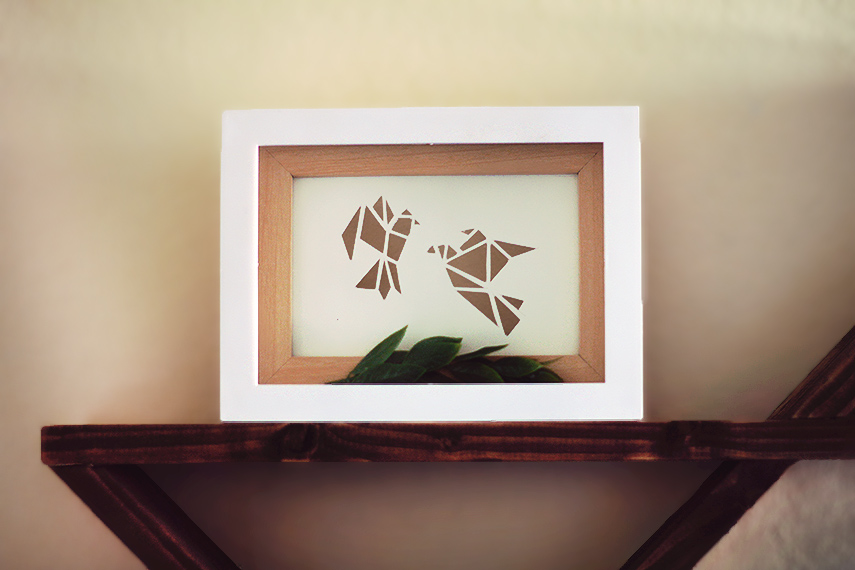 Materials: Inspired by a beautiful origami cut out found on Etsy, we decided to make our own version. We had these frames laying around, and were amazed at how well they fit together, creating an enhanced shadowbox effect. Make use of the layering effect of shadowboxes! Don't be constricted by just using one. 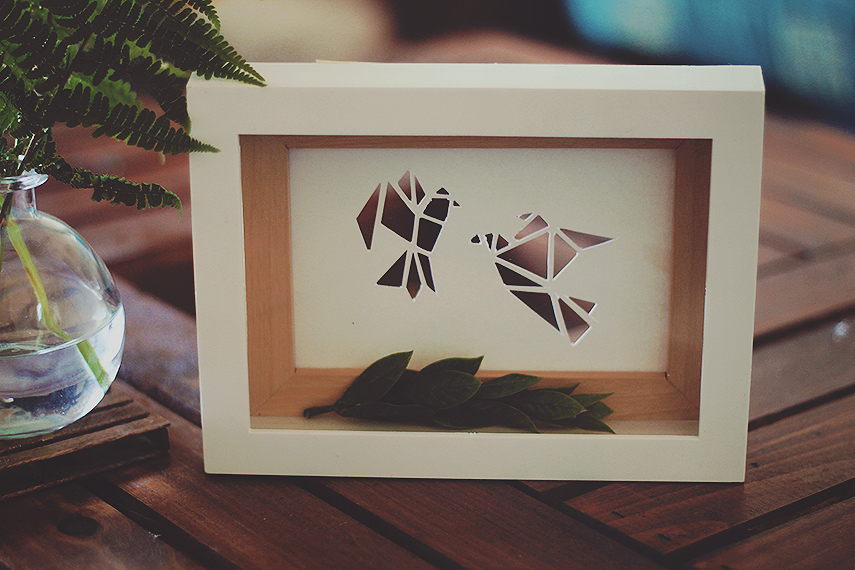 |
 RSS Feed
