 If you know our story, follow this blog, or read the menu the left of this post you can see that we love photography. Lynn and I met in a digital photography class after all! The style of vintage cameras is something that continuously captures our imaginations. Lynn, being a photographer and designer, and myself being a history nerd, we love antique stuff! At a craft fair not too long ago, we came across a craftsman who was selling lamps. But not just any lamps! These lamps were adorned with cute metal figurines of animals, planes, and other inventions. The part that absolutely won us over though? The lamps turned on when you touched the metal objects! We were enthralled. Alas the price was too far out of our budget, and we continued on our way. Lynn has been thinking of a way to create this lamp ourselves for the past few months, and this camera lamp is the result! Materials:
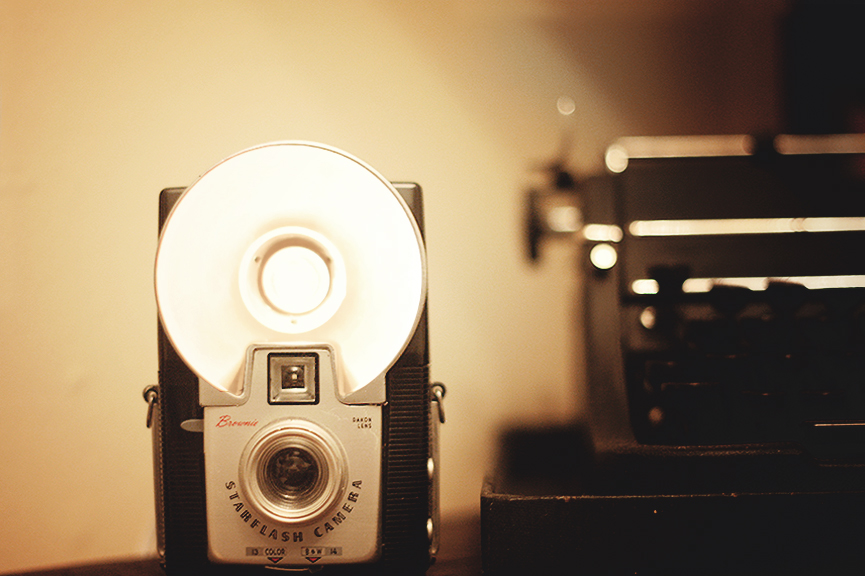
When we began this project, the intention was to make a lamp out of a camera. Simple enough. But we also wanted it to be a touch activated lamp. Much more difficult. Realizing that our electrical wiring knowledge was basic at best, we decided to try and just make a lamp instead of a touch activated lamp. We began to work in earnest on this project a month ago, as we shopped for a camera body to be our host. Waking up before the sun one Sunday morning, we drove up to San Francisco to attend a flea market and a craft fair. The flea market had plenty of old, cheap, beat up cameras, but non of them quite fit the bill. Fast forward to after the craft fairs, at the end of a long day and we had no fruit to show for our labor. Lynn took to yelp to try and find a store that could possibly be selling cameras. We ended up at Glass Key Photo in the Lower Heights district that evening. We showed the picture to the store attendant and he left us to retrieve a foot stool. Sitting at the top of the display shelves was the perfect camera body for $15. Score! We rushed home to take it apart. 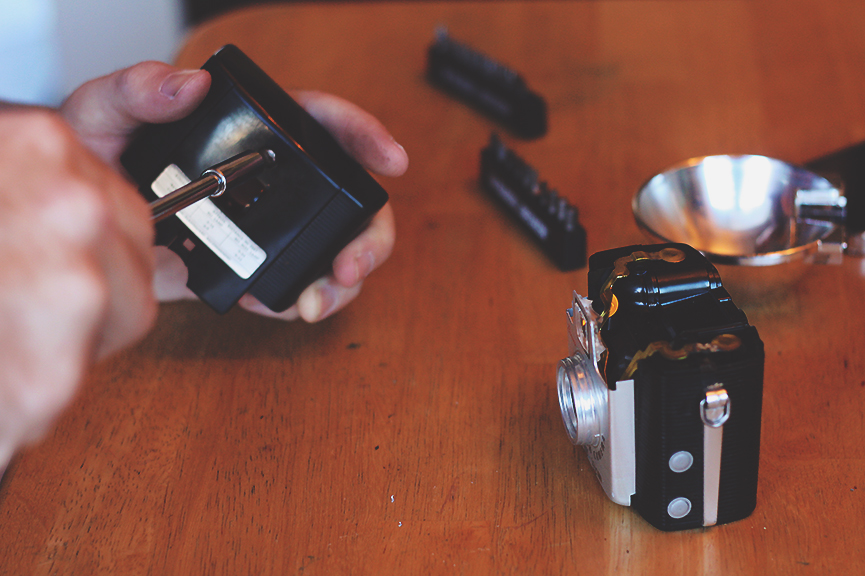 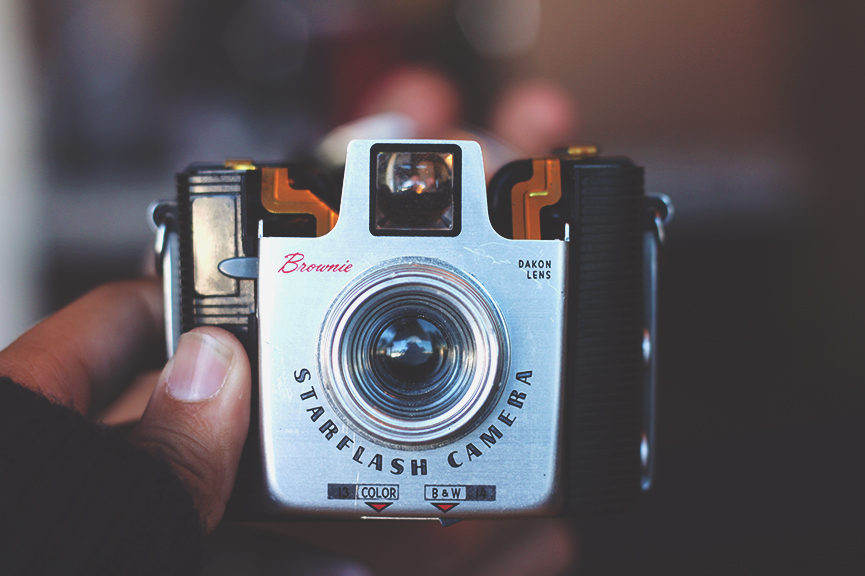 This is where things got dicey (and the frustration set in). I was able to dismantle the camera without too much hassle, I was even able to remove the face plate. We noticed that the lamp hood was cracked on the inside only so I took it apart completely and we gave it a new paint job in chrome paint. While it dried, we went to the store to buy a bulb and a lamp socket. Upon our return, I was told to put everything together. This was much more difficult than I anticipated. I needed about a quarter of an inch of space for the socket to line up perfectly, and the cord had no where to go. So frustrating! 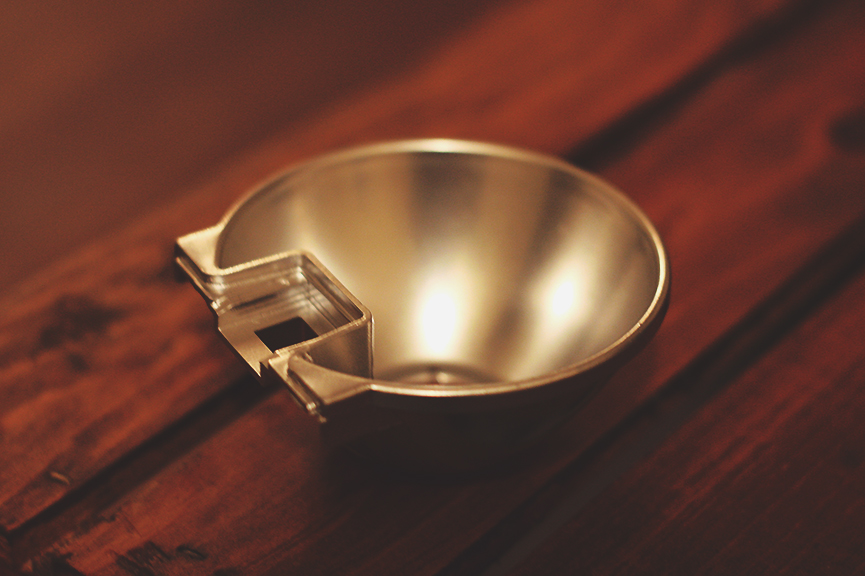 So to get the lamp socket to fit into the camera body, I had to shave away a bit of the backing. We cut a small hole in the back with the handsaw and slid the cord into place. Unfortunately the socket still needed that quarter inch of space. There was naturally a hole in the back, which I attempted to fit the socket through but to no avail. I took my exacto-knife and began to carve layers of plastic off. After the bendable plastic was cut away, I had to bring in the big guns! I took out the drill and wore down the edges with the side of the bit. A few patient minutes of this, and the camera body accepted the socket, HUZZAH! The tension from the socket and the frame keep everything together so we didn't even need adhesive. 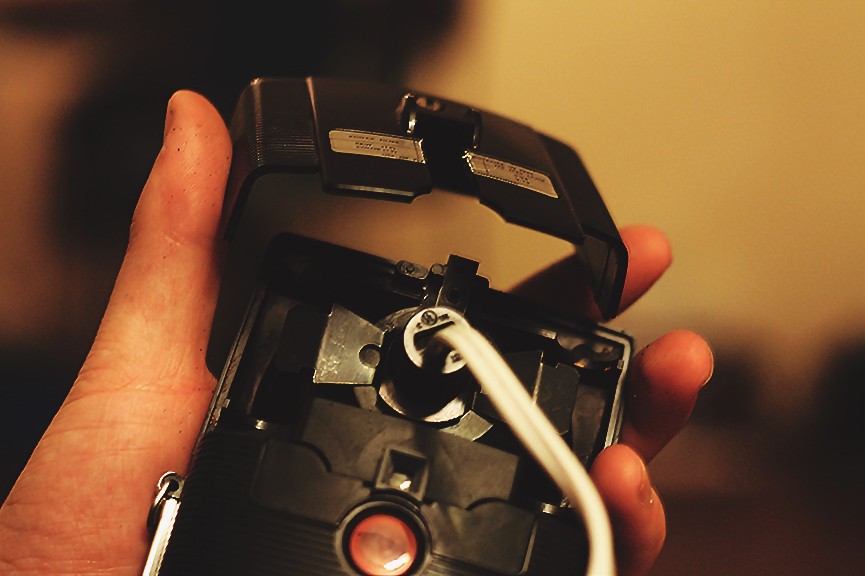 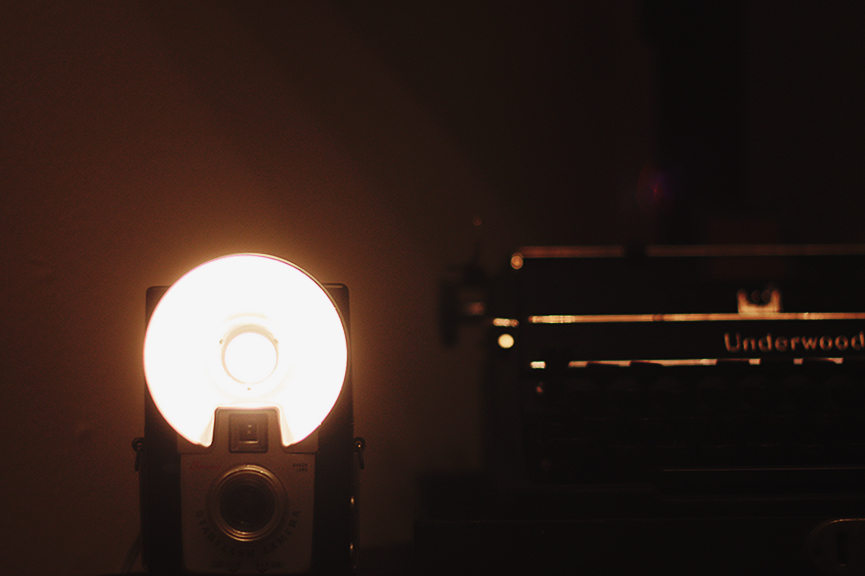 Every camera lamp build will be unique, but I hope you enjoyed this blog post! Good luck with your photo lamp, and we will see you next time for the touch activated one. ;)
0 Comments
Leave a Reply. |
 RSS Feed
